
In this blog post you’ll be learning how to start your own blog under 100$.
As I always said, blogging can make great deal of money for you. Now a days lots of people live full time through the revenue generated from their blogs.
Still have doubts? Have a look at this mini infographic that highlights the money earned by some of the popular bloggers in the world!

Patt flynn made $1,624,611.06 in the last 12 months from blogging alone.
So, its high time you need to start your own blog.
What are the 3 steps in starting your own blog?
Lets have a look,
Step 1 : Registering a domain name
Step 2 : Setting up a host
Step 3: Installing WordPress and writing your first post.
#Step 1: Registering your domain name (Cost: 10$)
When you start a new business, you have to name it right? Likewise, when you are going to start a new web business/blog, you have to register a domain name for it. Dollarfry.com is the domain name of this blog.
Registering a domain name is pretty easy, you can go to godaddy.com and check for the available domain names and register it.
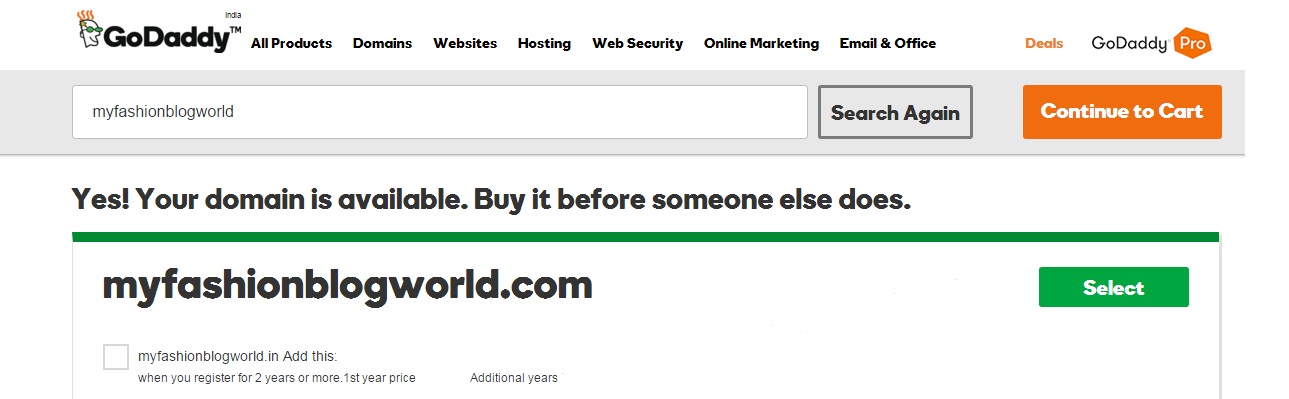
Here you can see, I’ve checked for a fashnionblog domain name and I can register it as it is available for registration.
Once you’ve fixed your domain name, you need to checkout the domain paying the amount. You can pick the extension you wish(com,.co.uk,.net) or whatever. As you know, if you are focusing on global audience you should register a .com domain. If you are focusing on local audience,its fine to registers a country level TLD. Say if you need readers from Australia alone, .com.au extension will work good for you.
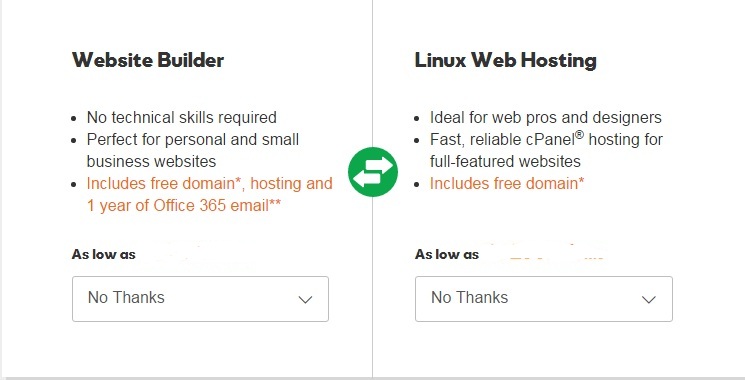
You can always skip some additional steps offered by godaddy, this can save you lots of money.
Some of the additional packages suggested by godaddy are
- Website Builder – A website builder to build your website
- Linux Web Hosting – Web hosting for your domain(Godaddy Hosting sucks)
- Email address in your domain(You can always get this for free with bluehost)
- Making it Private- You can select this if you dont want others to see your private registration details
You can skip this(unless you want some of them), this can get your doman registered under 10$.
#Step 2 : Setting up a host (60 $)
Setting up a host is the second step in starting your blog. By setting a host, we are allocating(setting up)a space where your website can be stored.
Which hosting do we recommend?
We do recommend Bluehost as your hosting provider to host your website. Why do we recommend bluehost? There are some reasons,
- Best and reliable hosting
- Premium Customer Support(24×7) for all customers.
- Easy One click WordPress Install.
- Very competitive pricing(starts at $3.5 Per Month)
- Very secure.
- Cpanel Support
- Very easy installation
- Unlimited domains and email accounts.
- 30 Days money back guarantee!
What more do you need from a hosting provider.
This doesn’t mean that the other hosting providers are bad, but from my personal experience, BLUEHOST is the best. Just go for it!
How to setup a Bluehost Hosting Account ?
Go to Bluehost Home Page and Click Sign Up Now(Get Started Now)
You can also register the domain with bluehost. You can skip the step 1 and register the domain with Bluehost if you want. This can make your process very easy.
If you already have a domain name, you can transfer it to the Bluehost account if you want.
 +
+
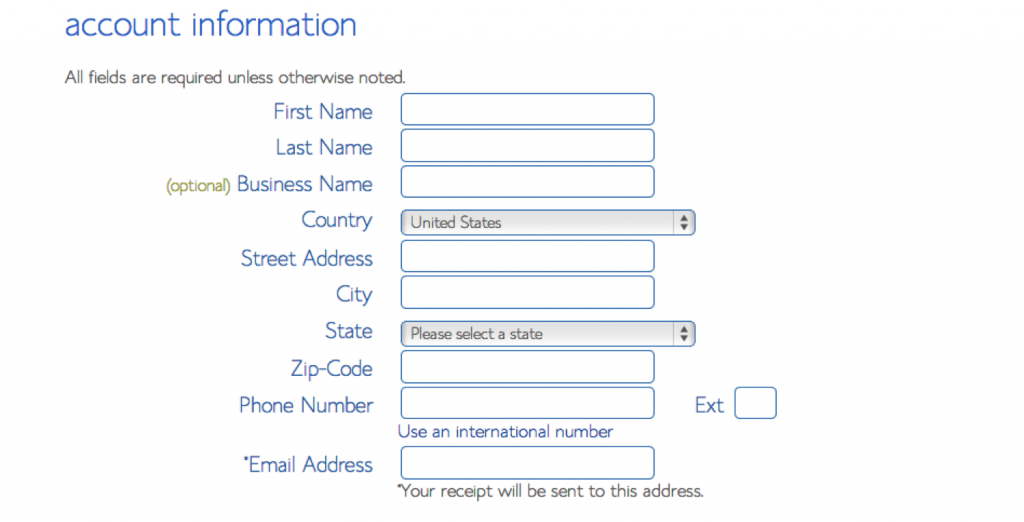
After you’ve entered the domain name details, you have to enter the personal details.
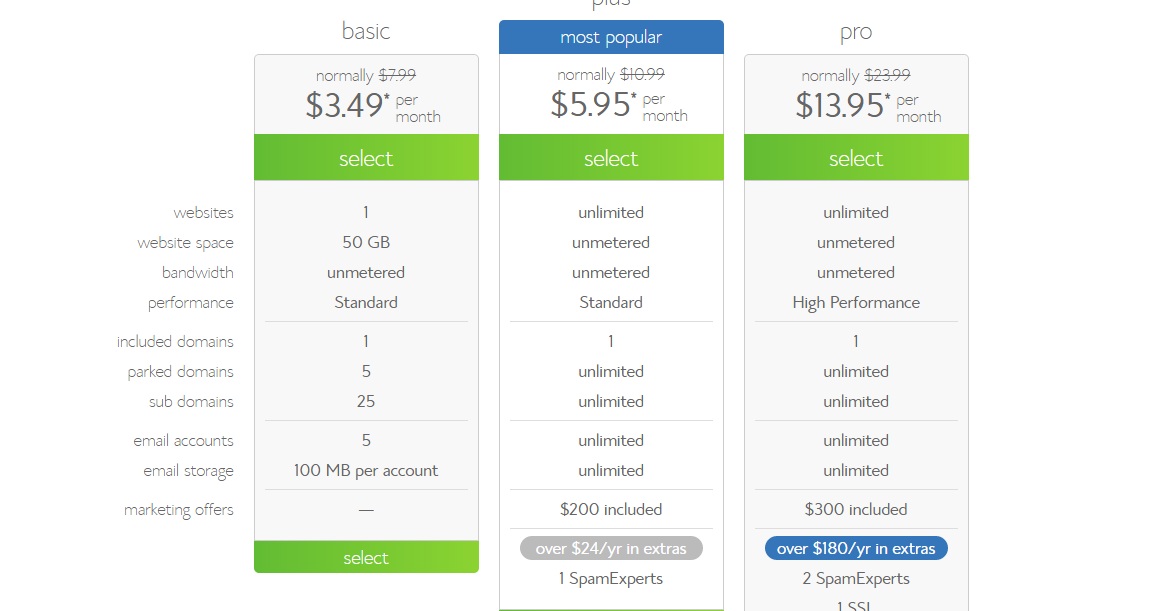
You need to select the hosting package which you need. If you select for a long time period, you can save lots of money, as bluehost will be providing good discount if the hosting time period is higher. By choosing 36 months(3 years), you can get the hosting for just $3.95 per month. In order to start a blog, just a shared hosting is enough for you. You can select the most basic plan which will only cost you ($3.95 per month).
Initially, your blog won’t be getting much traffic, you only need to change your plan once your blog receives good amount of traffic.
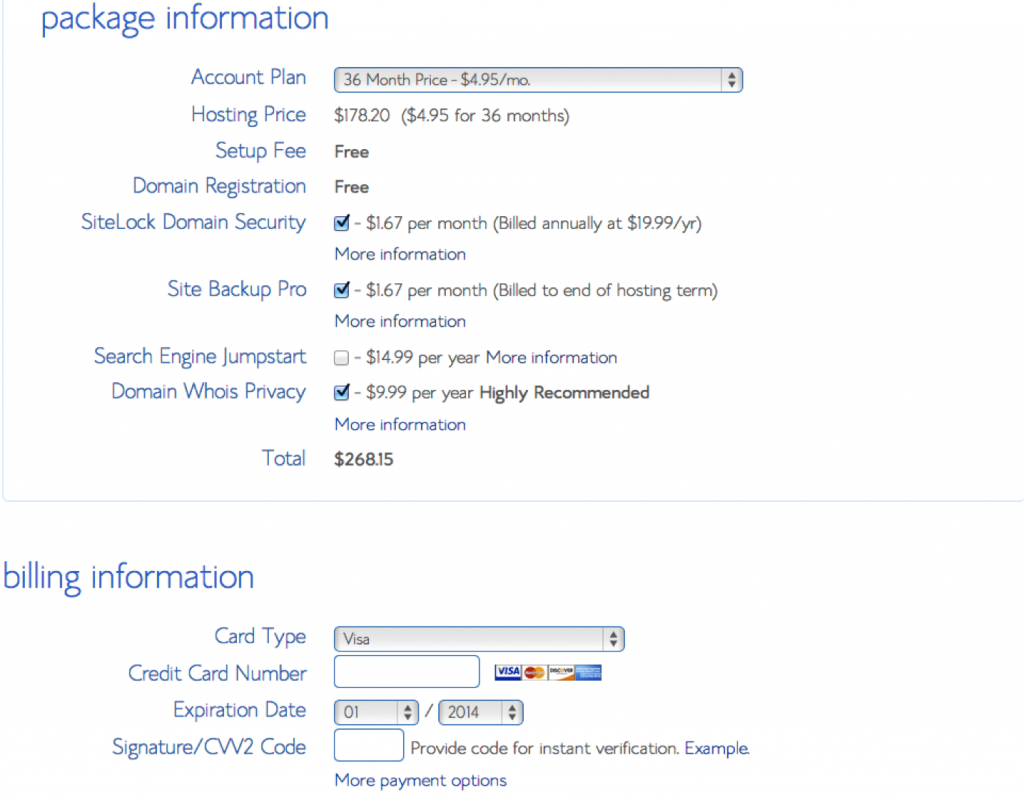
After filling in your information(credit card details), click the next button to complete your purchase. In this step you’ll be asked to create a password for your account, and you are done.
#Step 3: Installing WordPress in your hosting account(Cost 0$)
As you already know, WordPress is the best blogging platform . This blog Dollarfry has been built with WordPress.
You can use the one click install option in the Bluehost account in order to install WordPress in your domain.
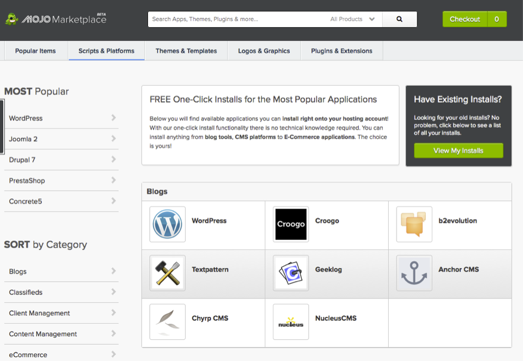
Login to your CPanel,scroll to the section titled “MOJO Marketplace” and choose the “One-Click Installs” button. Click the WordPress icon in this section and you’ll be taken to WordPress installation section.
Once you select the WordPress option , you need to start the installation process by clicking the Start Button.

After all, you need to select the registered domain in which you need to install WordPress.

After all you need to enter your WordPress blog details username, email and password (So that you can login to your blog with this credentials).
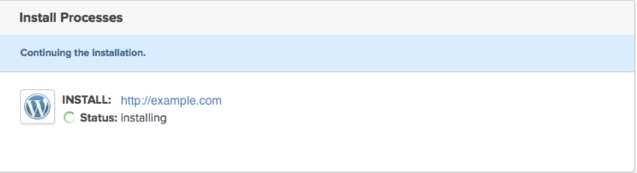
After this click Install Now and the WordPress installation will begin
.
Step 4 : Write your first blog post in WordPress(Cost 0$)
Once you’ve installed WordPress , login to your WordPress blog with your credentials (from http://yourdomain.com/wp-admin)and select the Add New option from the post section.
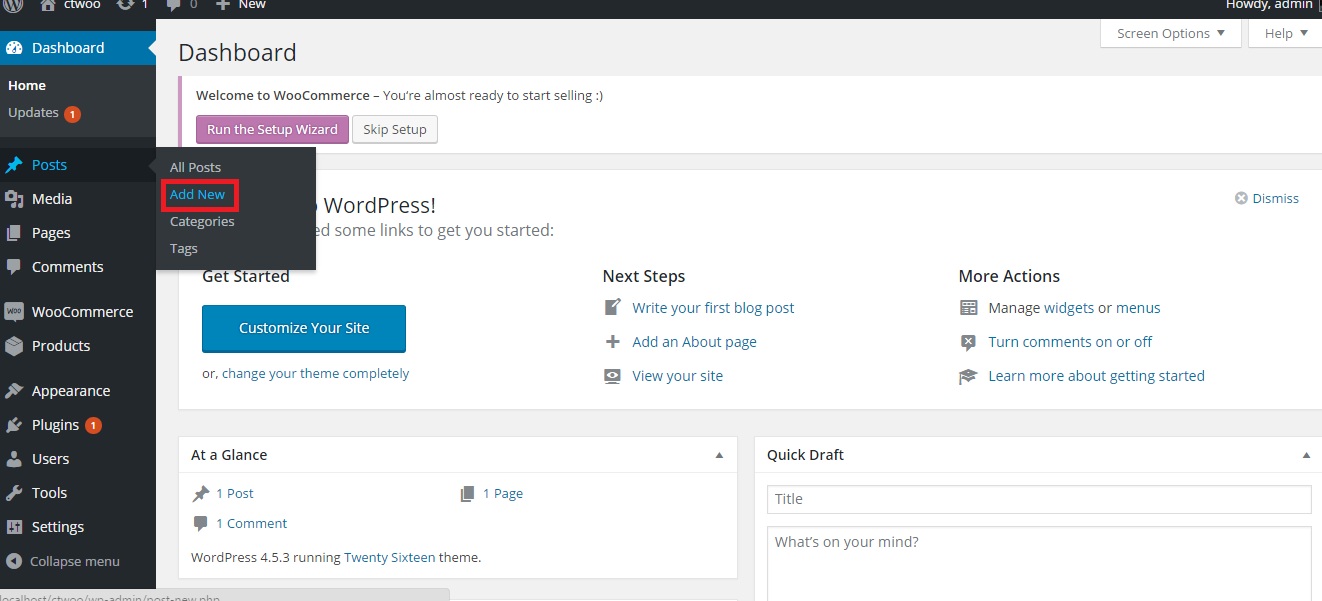
In the new post page you need to write the title as well as content of your blog post. Once you’ve written your post, click Publish Post option.
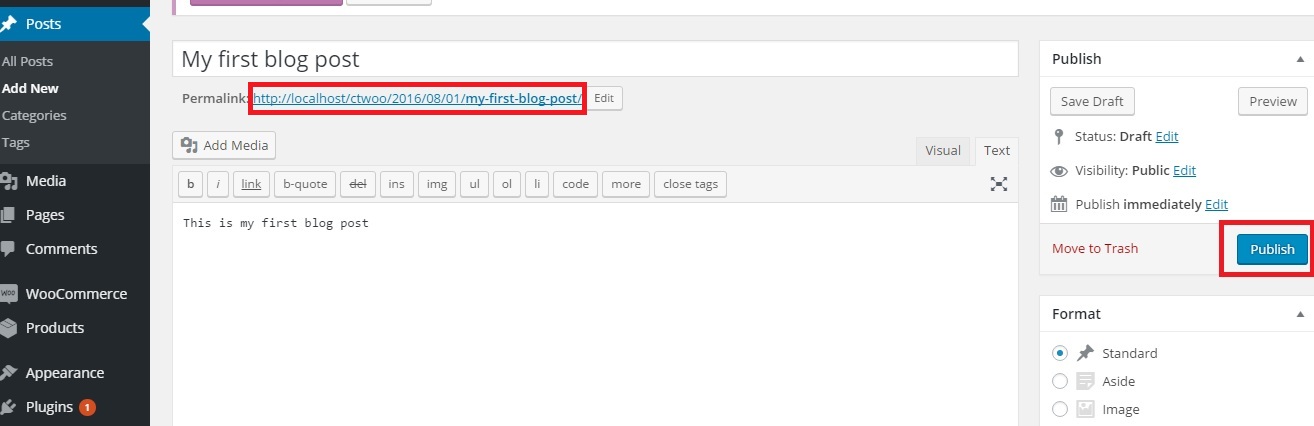
You can also see the link to your blogpost(In the permalink section below title). This will be link(url) to the blogpost you’ve written. You can share this link with the world so that the world can read your blogpost.
Have a look at the first blog post published.

Hope you enjoyed this tutorial in how to start your blog.
Shoot in your comment if you need any kind of help.