
This article is a tutorial which teaches you how to add a mysql database in your hosting account. After reading this tutorial, you will learn how to add a new mysql database, how to add a new user to a particular database and how to edit database and users. To explain the process, I have used screenshots of the standard control panel used by hosting companies like Hostgator,Bluehost and many other thousands of hosting companies. So this tutorial also addresses how to add a mysql database in Hotgator,Bluehost and other hosting servers. You can use this tutorial as a reference to understand the core concepts of web hosting. Even if you use a different hosting company with a different control panel, this tutorial will help you to understand basics.
How to add a new Database
Adding a new database involves 3 steps. Creating a database name, creating a user for this database and creating a password for this user. You can do all this from the standard control panel of your hosting account. So as a first step, login to your control panel.
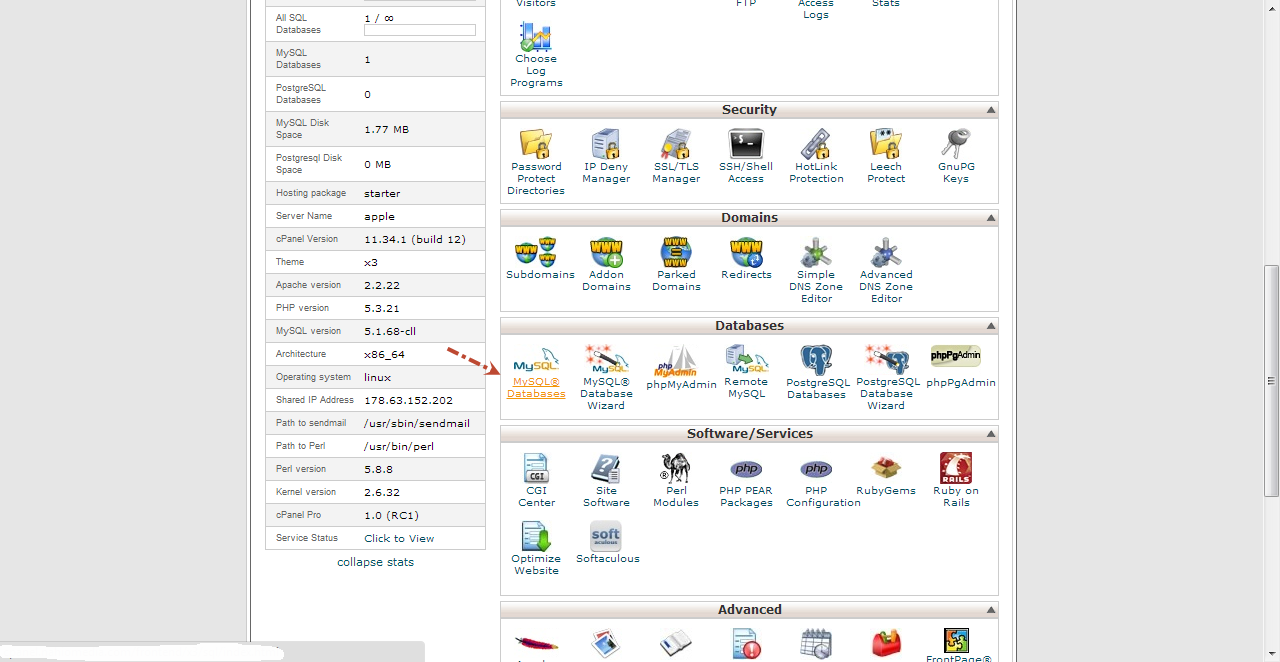
Step 1:- Find the section for “Databases” from your control panel home page. A screenshot is added below. From this section, click on the MySql Databases Icon.
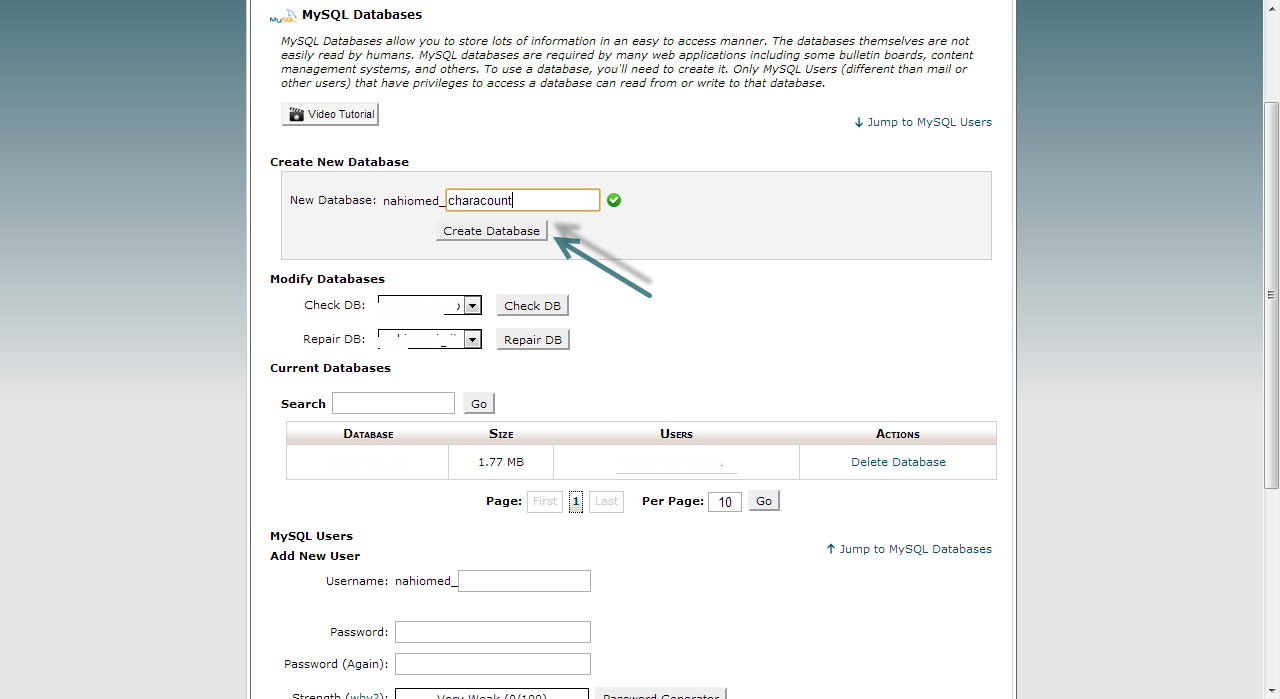
Step 2:- A click on the “MySql Databases” icon will take you to a new page where you can create new databases or edit/delete existing databases. Now the first step is to give your new database a name. Under the section titled “create new database” – type in your name extension. From the screenshot you can see that I typed “characount” as the database name extension. So the actual name of new database will be “nahiomed_characount”. Now hit the button – “Create Database”.
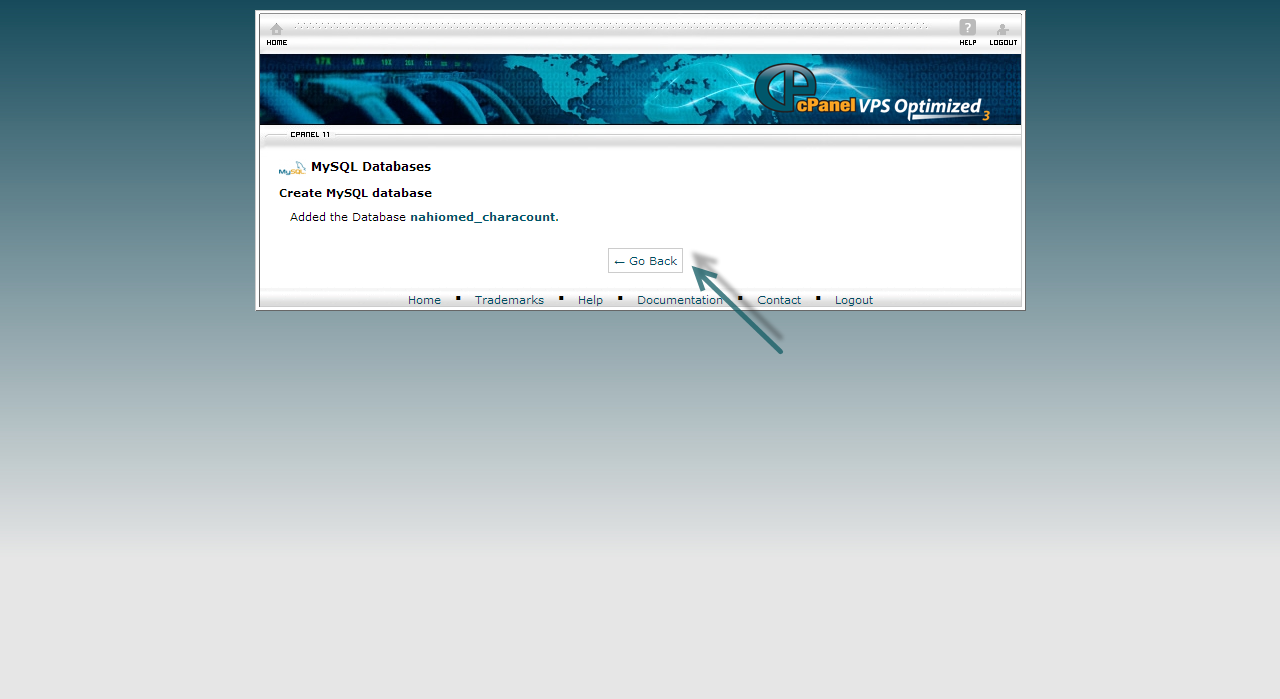
Step 3:- Hitting the button will lead you to a success page, where it will show that a database named “nahiomed_characount” was successfully created. Refer screenshot below. Hit the “Go Back” button.
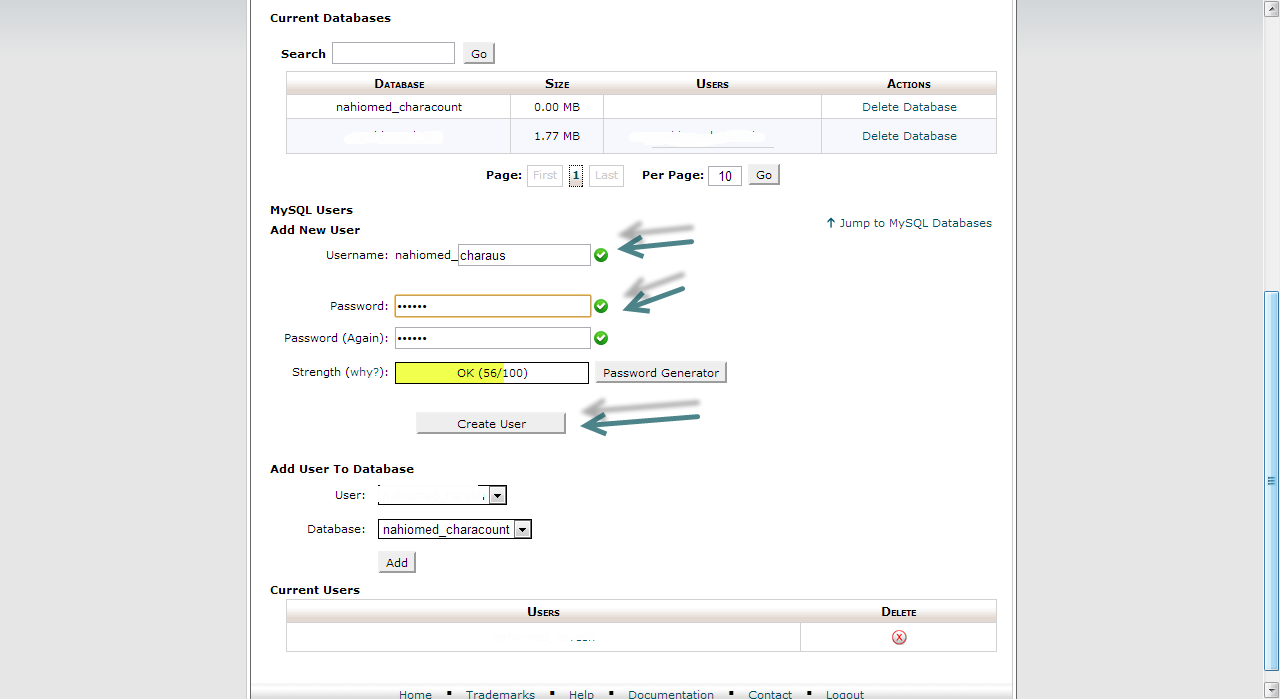
Step 4:- Now you will have to create a new user for this database. You can also use an existing username for this database (if you prefer that way). However its secure to create a new user for every new database as it enhances security of your data.So got to section titled “MySql users” and add the username extension, passwords & hit “Create User“. Refer screenshot below.
Step 5:- Hitting “Create User” should take you to a success page as shown below. Hit “Go Back”.

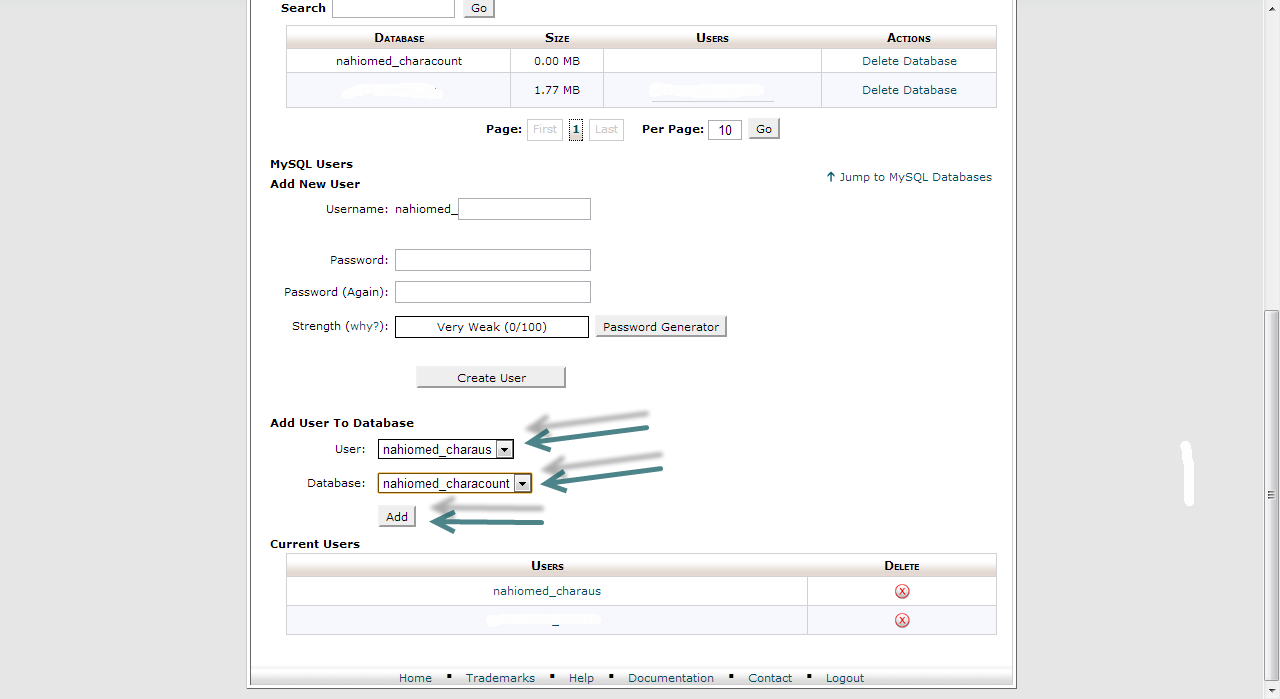
Step 6:- Append the newly created Database to the newly created User. Got to the section titled “Add user to Database“. Select the user & database name from drop down menus. Hit “Add” button. Refer screenshot below.
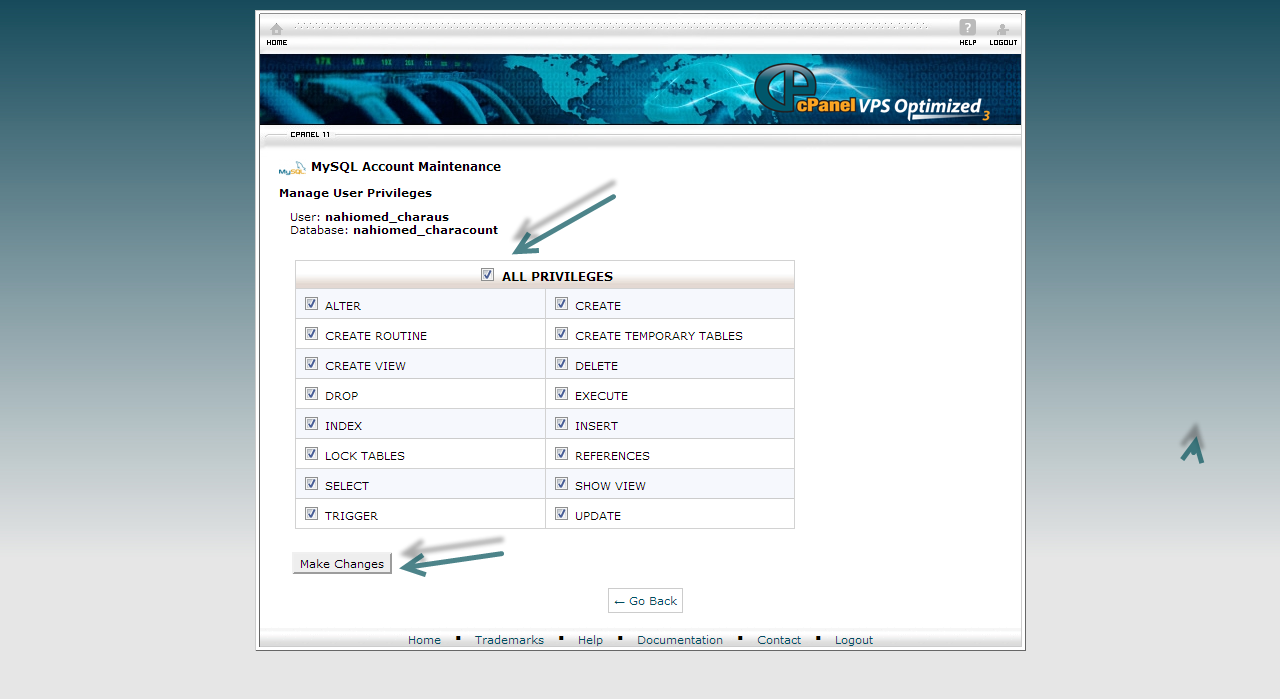
Step 7:- Finishing step 6 should take you to a page where you can set privileges for the newly added user in your new database. Privileges include permissions to read,write and execute in database. By default, you are supposed to select “All Privileges” for this user. Refer screenshot. Hit the “Make Changes” button.
Step 8:- Now you will be taken to a success page as shown below. Hit the “Go Back” button.

Step 9:- Okay! The process is over and you have now successfully created a new database in your server. Take note of the database name, database user and password. These 3 data will be required for installing any application on your server, say WordPress, Joomla or a shopping cart software like Magento. The newly added database can be seen under the section titled “Current Databases”. You can see the screenshot below.

If you have any doubts in this tutorial, please feel free to ask in comments. I will definitely help you out.